
Imagine your bedroom gets a fresh coat of paint, and suddenly it feels like a brand-new space. That’s the magic of change. It’s the same with what you wear.
Guys, you don’t need to rush out to the store for a wardrobe update. Instead, with a splash of creativity, you can transform your old clothes into cool, new outfits.
This is where DIY fashion tips for men come into play. By tweaking a shirt here, adding some patches there, or even learning a simple sewing stitch, you can give your clothes a second life. It’s not just about saving money; it’s about expressing yourself and standing out. Think of it as a fun project that not only refreshes your style but also boosts your mood. So, roll up your sleeves and let’s make your existing wardrobe exciting again with your own personal touch!
Make Your Own Cool T-Shirt

Discover the Joy of T-Shirt Painting
Imagine wearing a t-shirt that’s completely unique to you, showcasing your favorite character, quote, or design. It’s not just a dream—you can make it happen with t-shirt painting! This is a super fun activity that lets you express your creativity on a wearable canvas. All you need is some water-based ink and a brush to get started on this artsy adventure.
Choosing Your Materials
First things first, you’ll want to pick out a plain t-shirt to be the star of your project. White works best as a canvas, but feel free to choose any light color that will make your design pop. Now, let’s talk about ink. Water-based ink is the best choice for fabric because it’s gentle, eco-friendly, and sits well on the material. Plus, it’s easy to clean up if you make a mess. Grab a set of brushes too—different sizes will help you with detailed parts and filling in larger areas.
Creating Your Masterpiece
Before you dive in, slip a piece of cardboard inside your t-shirt to prevent any ink from bleeding through. Now, sketch your design lightly with a pencil or use a stencil if you want more precision. Once you’re happy with the outline, it’s time to paint! Gently apply the ink with your brush, layering colors and adding details as you go. Let your imagination run wild—this is your personal work of art.
Let it Dry
After you’ve finished painting, the hardest part is waiting for your creation to dry. Be patient; it’s important to let the ink set in completely before you flaunt your new t-shirt. This usually takes a few hours, but it can vary based on the amount of ink you’ve used. You can speed up the process with a hairdryer on a low, cool setting if you’re in a hurry. Just remember, don’t rush too much, or you might smudge your design!
Wear it Proudly
Once the ink is completely dry, your t-shirt is ready to wear! It’s a statement piece that’s sure to grab attention and spark conversations. Plus, it feels great to wear something you’ve made yourself. So, show off your personal style and enjoy the compliments that come your way. Remember, this isn’t just a t-shirt; it’s a piece of art that represents you.
And there you have it—a simple way to make a cool, personalized t-shirt. Whether you’re looking to add a splash of creativity to your wardrobe or searching for a unique gift idea, t-shirt painting is the way to go. Have fun with it, and don’t forget to share your designs with friends and family!
Turn Old Jeans into New Shorts

Do you have a pair of jeans that you no longer wear? Instead of tossing them out, you can easily transform them into a stylish pair of shorts with just a few simple steps. First, put on your jeans and decide the length you desire for your new shorts. It’s a good idea to mark the spot with a piece of chalk or a washable marker. Remember, it’s better to cut them a bit longer at first—you can always make them shorter later, but you can’t make them longer once they’re cut!
Next, take off the jeans and lay them flat on a table. Make sure the legs are smooth and even. Use a ruler or a measuring tape to draw a straight line across the leg where you want to cut. This will be your guide to ensure that both legs are even. Now, grab a sharp pair of scissors and carefully cut along the line you’ve drawn. Try to cut smoothly to avoid jagged edges.
If you’re going for a vintage or distressed look, you can create a frayed edge by gently running a razor or a piece of sandpaper along the cut edge of the fabric. Be cautious and use gentle strokes to avoid cutting through the material. This technique will give your shorts a naturally worn-in appearance that’s very trendy.
Create a Pocket T-Shirt
Have you ever wanted to add a personal touch to your clothes? Customizing a plain t-shirt with a pocket is a fun and simple way to do just that! Not only does it give you a chance to show off your creative side, but you also end up with a unique piece of clothing that no one else has. Here’s how you can get started on this cool project.
Gather Your Materials
Before you begin, make sure you have everything you need. You’ll need a plain t-shirt, some fabric for the pocket, scissors, sewing pins, needle and thread, or a sewing machine. Choose a fabric that complements your t-shirt or go wild with a contrasting pattern! Additionally, if you want to brand your creation, grab a special tag or a cool sticker.
Cut the Pocket Shape
First things first, decide on the size and shape of your pocket. A standard pocket shape is rectangular with a slight curve at the bottom, but feel free to get creative! Once you’ve decided, draw the shape on the back of your fabric using a fabric marker or chalk. Remember to leave about half an inch around the edge for the seam. Then, cut out your pocket shape with scissors.
Prepare the Pocket
Next up, fold the edges of your fabric inwards by half an inch and iron them flat. This will create clean lines and make it easier to sew. If you’re using a sewing machine, you can now sew around the folded edges to secure them. If you’re hand-sewing, use small, tight stitches to keep it neat.
Pin and Sew the Pocket to the T-Shirt
Now, place your pocket on the t-shirt where you want it to go. A good spot is often over the heart, but it’s your design, so put it wherever you like! Use sewing pins to hold the pocket in place. Make sure it’s straight, then sew around the sides and bottom of the pocket, leaving the top open. Take your time to ensure the stitches are even and secure.
Add Your Personal Touch
Finally, for that personal signature, add your special tag or sticker. If it’s a tag, sew it on the pocket or inside the t-shirt. If it’s a sticker, make sure it’s fabric-safe and place it where it complements your new pocket. And just like that, you’ve transformed a simple shirt into something special and stylish!
By following these steps, you can easily turn a basic t-shirt into a trendy, personalized top. It’s a great way to practice sewing and design, and you get to wear your art! So, grab your materials and get creative – your one-of-a-kind t-shirt awaits.
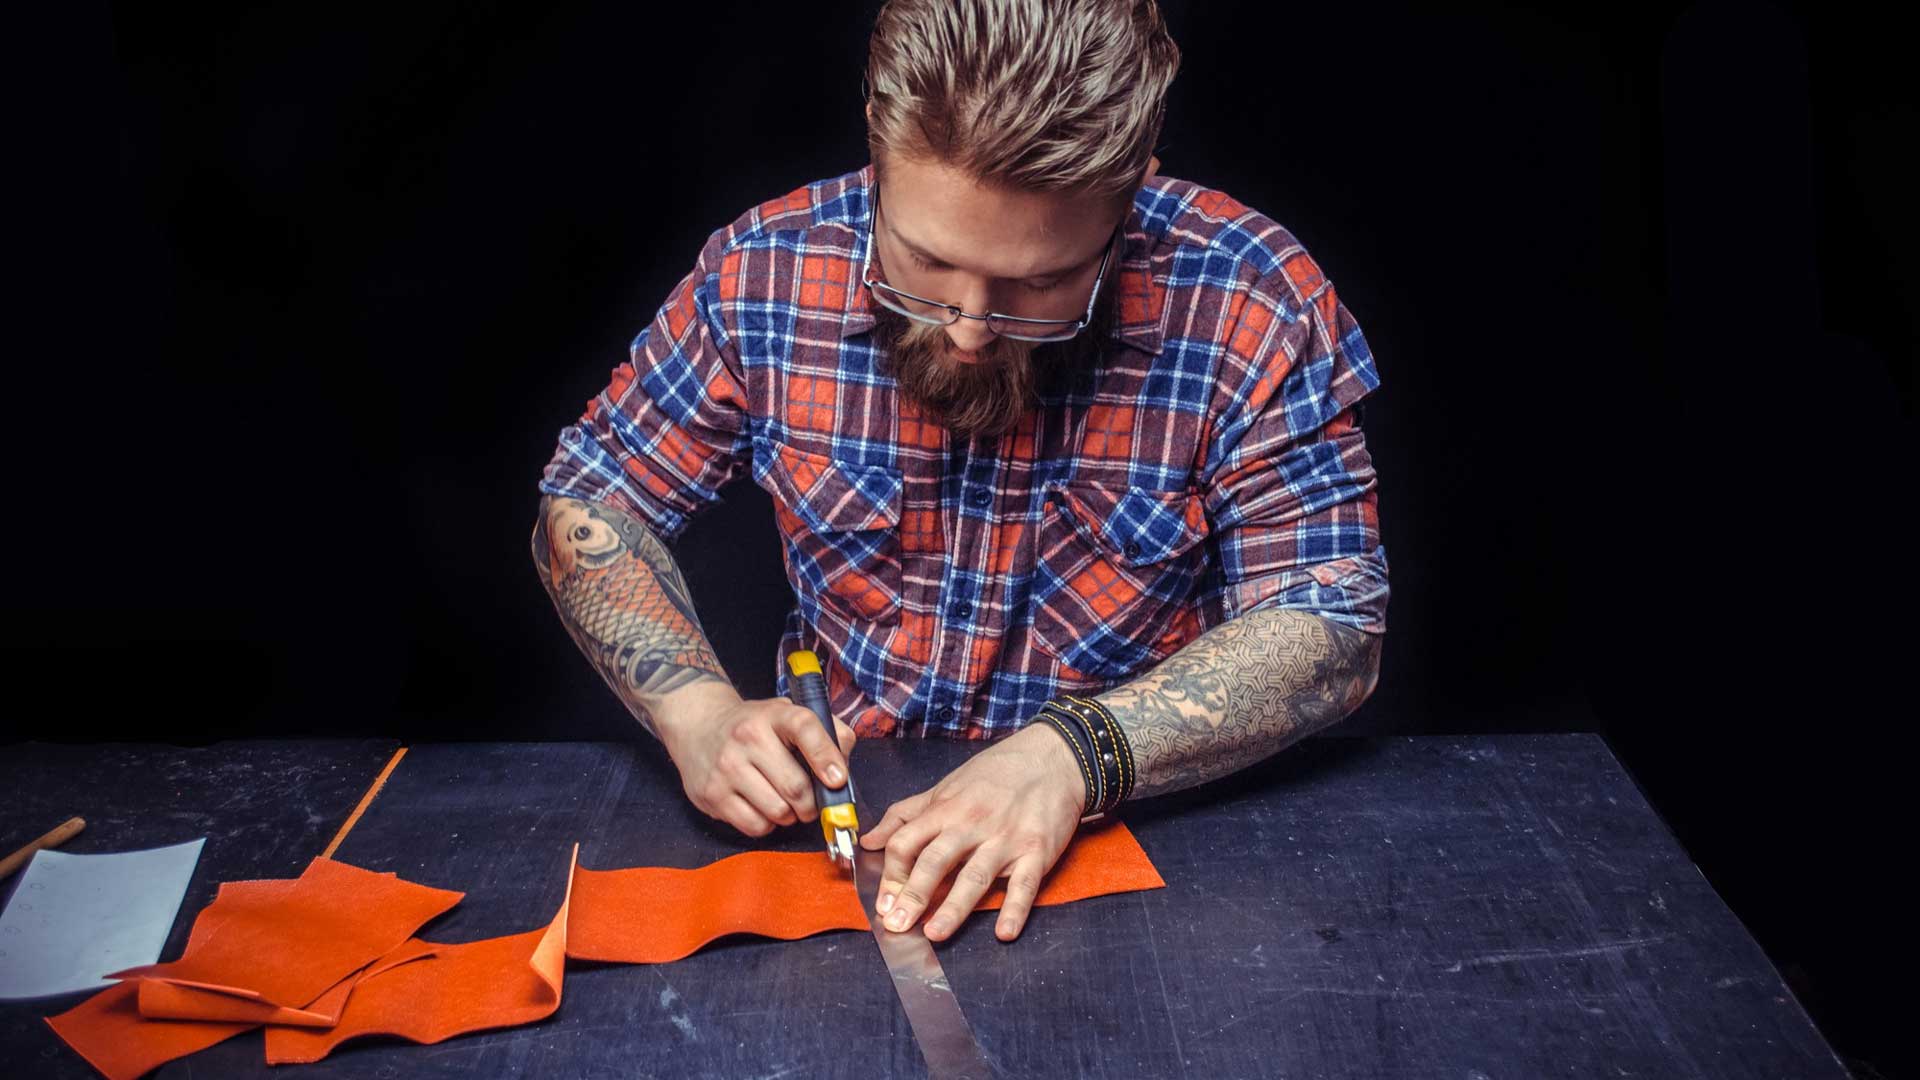
Craft a Leather Belt
Making your own leather belt is a cool project. With a few tools and some leather, you can make a belt that’s just your style and will last a long time.
Gather Your Materials
First things first, you’ll need to get some supplies. Look for a piece of quality leather that’s long and wide enough to fit around your waist and buckle. You’ll also need a belt buckle, some leather dye if you want a specific color, and a few tools: a hole punch, scissors or a leather cutter, and a rivet setter. Make sure to pick a leather that feels good to touch and is not too thick or too thin for a belt.
Measure and Cut the Leather
Now, it’s time to measure. Use a tape measure to find the length of your waist and add a few inches for the overlap and buckle. Mark this length on your leather. Then, carefully cut the leather in a straight line. Remember, it’s better to cut too long than too short – you can always trim it down later.
Dye the Leather (Optional)
If you want to add color to your belt, now’s the time. Lay out some newspaper to avoid a mess, put on gloves, and evenly apply the leather dye with a sponge or brush. After applying, let the leather dry completely. This could take a few hours, so be patient!
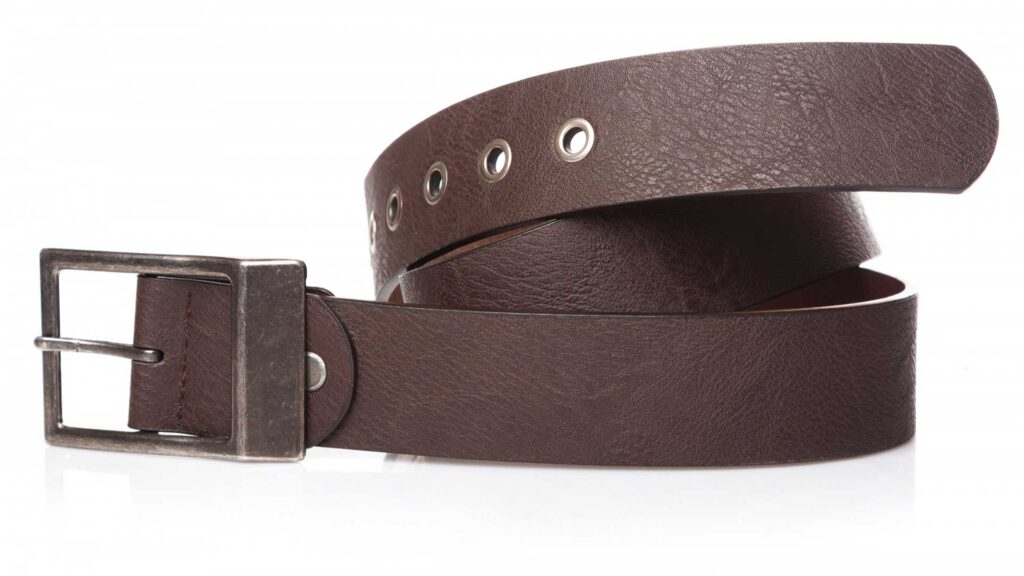
Attach the Buckle
Once the leather is cut and dyed, you can attach the buckle. Slide one end of the leather into the buckle and fold it back on itself. Use the hole punch to create two holes through both layers of the leather. Then, using the rivet setter, secure the buckle in place with rivets. Make sure everything’s tight and secure.
Punch Belt Holes
Almost done! The last step is to punch holes for the buckle’s prong. Wrap the belt around your waist to find the perfect spot for the first hole, which should be at your waist measurement. Punch the first hole there, then add more holes on either side about one inch apart for adjustments. Try on your belt and make sure it fits just right.
And there you have it! With these simple steps, you’ve created a custom leather belt that reflects your personal style. Not only is it unique, but it’s also built to stand the test of time. Wear it proudly, knowing you made it yourself!
Transform a T-Shirt into a Tank Top
Have you ever looked at an old t-shirt and thought, “I wish I could still wear this”? Well, you can! With a pair of scissors and a bit of creativity, you can give your tee a second life as a stylish tank top. This is perfect for when you want to feel cool during a workout or just want a casual look to chill in.
First things first, choose the right t-shirt. It should be one that you love but don’t mind cutting up. Maybe the sleeves are a bit tight, or it’s just too warm for summer. That’s your perfect candidate for this transformation. Make sure the shirt is clean and lay it flat on a table before you start.
Now, let’s talk about the tools. You’ll need a good pair of scissors—ones that can cut fabric smoothly. If you have fabric scissors, those are the best. If not, any sharp scissors will do. Also, grab a marker or chalk to mark your cutting lines, so you don’t make a mistake.
It’s time to cut! Begin by cutting off the sleeves. Draw a line with your marker from the armpit to the shoulder, following the seam line. This is where you’ll cut to remove the sleeve. Do this on one side and then fold the shirt in half to use the cut side as a guide for the other sleeve. This helps make both sides even.
Next, you can shape the neckline. If you want a deeper neck or a scoop neck, draw a new neckline with your marker. Remember, it’s always better to cut less first—you can always cut more later if you want. Once you’re happy with the shape, cut along the line carefully.
The last step is optional. If you like the raw, edgy look, you’re done! But if you want a cleaner finish, you can fold the edges in about half an inch and iron them down to create a smooth edge. Some people even sew this fold to make it permanent, but that’s up to you.
And there you have it—a brand new tank top made by you! You’ve not only created a cool top but also practiced sustainable fashion by repurposing your old t-shirt. Wear it proudly to your next workout session or while you’re out enjoying a sunny day.
Remember, this is just the beginning. Once you get the hang of it, you can get more creative with your designs. Maybe add some beads or cut a pattern into the back. The possibilities are endless, and it’s all in your hands. Happy crafting!
Add Patches for Personality
Have you ever looked at your favorite denim jacket or backpack and thought, “This could use a little extra flair”? Patches are the perfect solution! They’re not just for scouts or bikers; patches can showcase your interests, achievements, or just your style. The best part is, they’re incredibly easy to add to almost any fabric item.
First things first, you need to find the right patches for you. There’s a vast sea of options out there, from cartoon characters and sports teams to bands and funny sayings. If you’re feeling creative, you can even craft your own patches using fabric scraps and embroidery. Once you’ve selected your patches, it’s time to attach them.
Most patches come with an iron-on adhesive backing. This means you can simply place the patch where you want it, cover it with a cloth to protect it, and press it with a hot iron. After a few minutes, the adhesive melts and bonds the patch to the fabric. Voila! You’ve got a personalized piece of clothing. Alternatively, for a no-heat option, Velcro patches are also available. They’re great for items you might want to switch up from time to time.
Attaching patches is a budget-friendly way to refresh your wardrobe. Instead of buying new clothes, you can update the ones you already have. Plus, it’s a fun activity that even beginners can do. Just remember, if you’re using an iron, ask an adult for help to ensure you stay safe.
So, dig out those old jeans, jackets, and bags from your closet and start adding patches. It’s a simple way to express who you are and make your everyday items one-of-a-kind. Happy patching!
Sew a Button-Up Shirt
Choosing Your Fabric and Pattern: First things first, to sew a button-up shirt, you’ll need the right materials. Start by selecting a fabric that feels comfortable and is easy to work with. Cotton or linen are great choices for beginners. Then, pick a shirt pattern that matches your style. Patterns can be found online or at your local craft store. Make sure the pattern is in your size and has a clear instructions sheet.
Gathering Your Sewing Supplies: Now that you have your fabric and pattern, it’s time to gather the rest of your supplies. You will need a sewing machine, thread that matches your fabric, scissors, pins, a tape measure, and of course, buttons! If you don’t have a sewing machine, you can sew by hand, but it will take longer.
Prepping Your Fabric: Before you start cutting, always pre-wash your fabric to prevent shrinkage after your shirt is made. After washing, iron the fabric to remove any wrinkles. This ensures a smooth cutting process and a professional-looking final product.
Cutting the Pieces: Follow your pattern’s layout guide to place pattern pieces on the fabric. Pin them down to keep them from moving. Then, carefully cut out each piece with fabric scissors. Double-check you’ve got all the pieces you need by comparing them to the pattern’s instructions.
Sewing the Shirt Together: It’s time to start sewing! Begin with the shoulders and sides, as most patterns suggest. Sew slowly to keep your stitches neat and even. After the main parts are connected, you’ll add the sleeves. Remember, always backstitch at the start and end of each seam to secure the stitching.
Adding the Buttons and Buttonholes: Your shirt is almost ready! The last step is to create buttonholes on one side of the shirt front and sew buttons onto the other side. If you’re unsure how to make buttonholes, check out some tutorials or your sewing machine’s manual—they can be really helpful. Space your buttons evenly and sew them on securely.
Final Touches: Once all your buttons are in place, try on your shirt and admire your work. If there are any loose threads, trim them. Iron your shirt one more time for a crisp, clean look. Now you have a unique button-up shirt that you made all by yourself!
Remember, sewing is a skill that gets better with practice. Don’t worry if everything isn’t perfect on your first try. The important thing is that you’re learning and creating something special that’s all your own. Happy sewing!